If you've been on the web long enough, you'll remember a time when the flame of Open Source burned bright in the form of a standards-compliant, free-as-in-beer browser, for the people, by the people. Well, that browser hasn't gone anywhere and continues to push the dream of an Open Web up that very steep Chrome-lined hill.
As with its large cohort of Chromium-based rivals such as Chrome, Edge, Opera, Brave, and Vivaldi (yes, they are all the same dog wearing different collars), Firefox supports DoH as its Secure DNS option. As a matter of fact, Firefox has made DoH its default option for its user base in most countries since 2020. The Mozilla Foundation, which is behind Firefox, has been pushing for the rest of the industry to get on board as well with its initiatives.
So without further ado, let's look at how you can set up Control D on Firefox via DoH.
Configuring a New Device
As part of this process, you will need to set up a device (and associate it with a profile of your choice); if you've loaded up Control D at least once, you've likely already gone through this process before, so if you're confident or already equipped, you can skip to the next section. For those that need a little reminder or extra help, here's how you can do it:
Step 1
If you're coming in completely fresh to this, you will see prompts for adding a new device, and you can follow the guide. If you already have at least one device set up, then you can navigate to the Manage Profiles & Devices page by clicking the cog icon at the top of your Control D panel.
Step 2
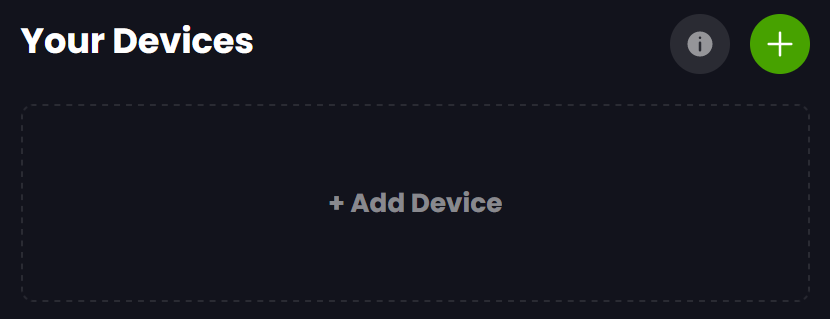
Click the green "+" button or "+Add Device" box.
Step 3
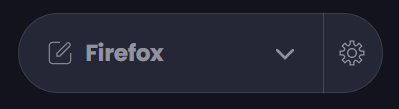
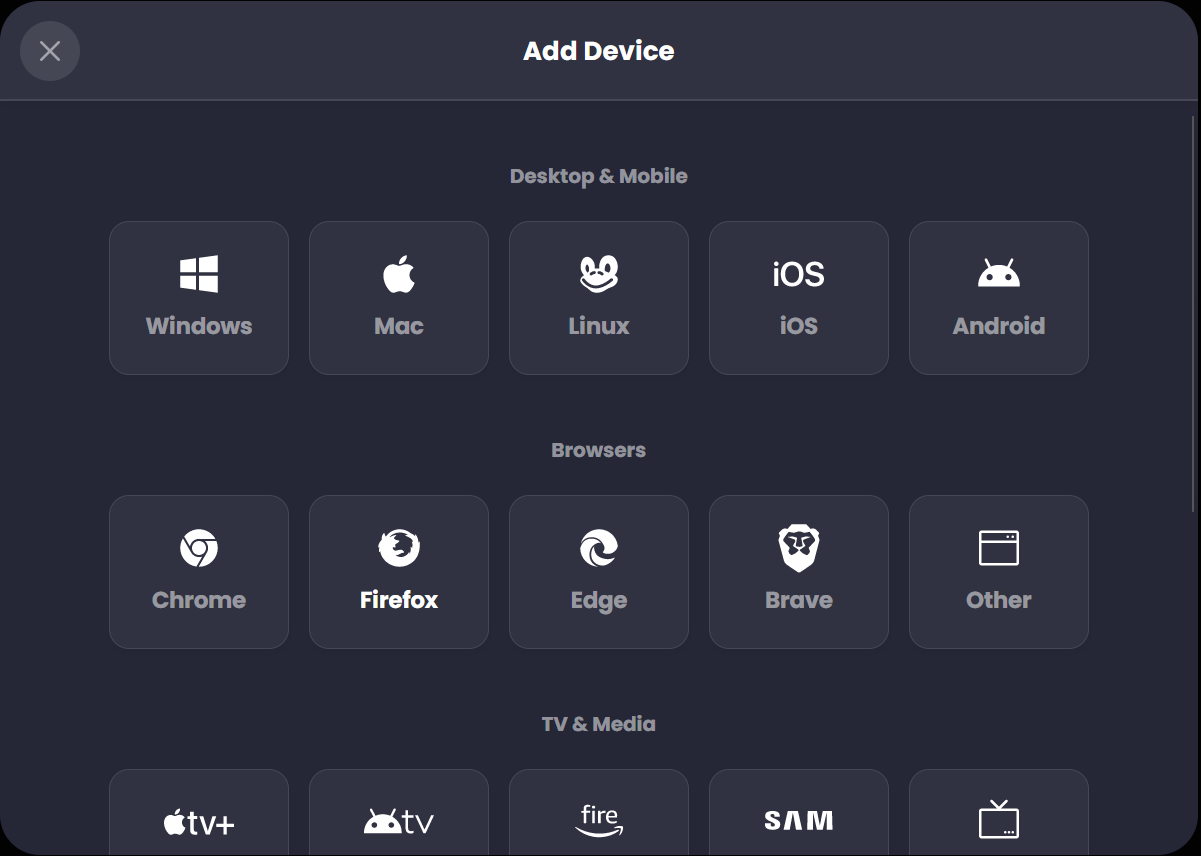
Choose "Firefox" under the "Browsers" options.
Step 4
Give the device an appropriate name, and link it to the profile of your choice. You can choose which settings you would like/need to activate. When done, scroll down and click "Add Device."

Step 5
You will now see a screen showing your resolvers, including a DNS-over-HTTPS/3 resolver; you can copy this to clipboard for later use, or you can easily navigate back when you need it.

Configuring Firefox
Once you have set up a device, it's time to configure Firefox.
Step 1
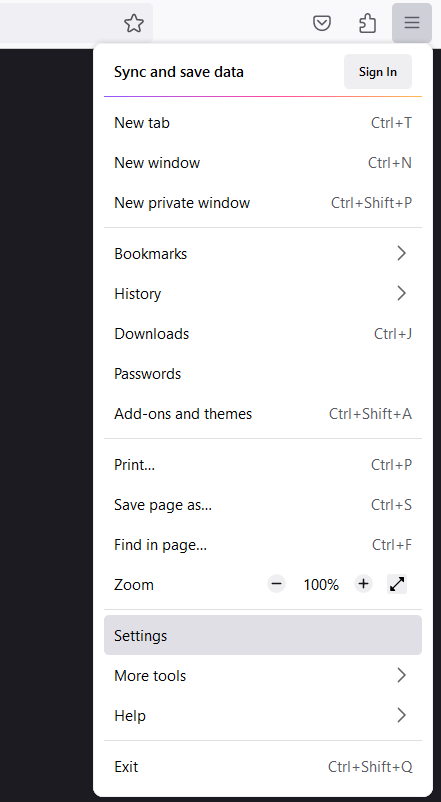
Go to "Settings" in the top right menu button.
Step 2
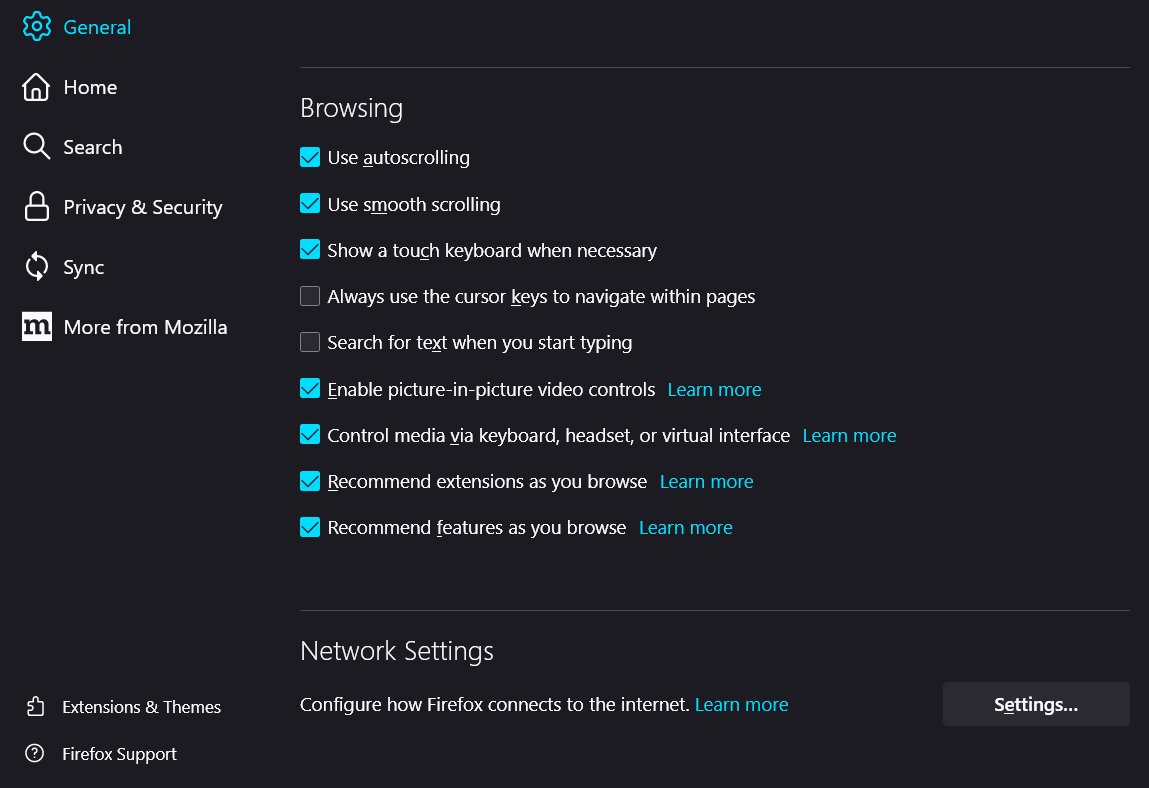
In the “General” tab, scroll all the way down to “Network Settings” and click on “Settings.”
Step 3
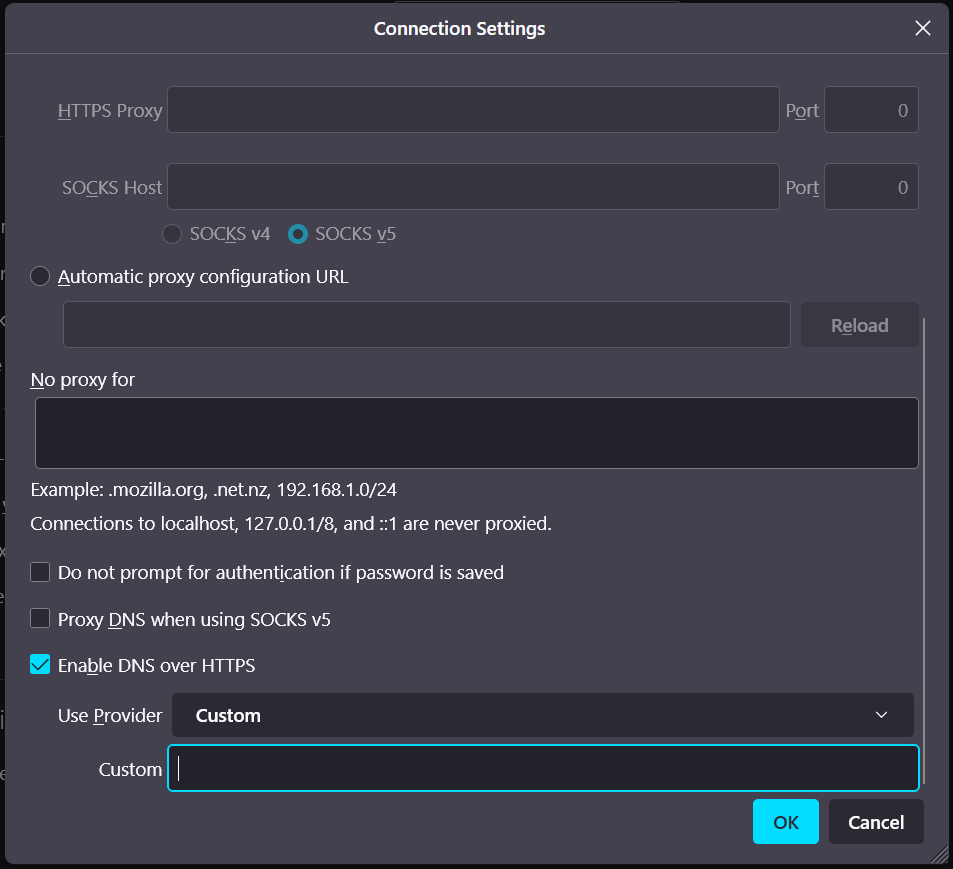
Scroll down and select “Enable DNS over HTTPS” and choose “Custom” under “Use Provider.”
Step 4
This is where you need the DNS-over-HTTPS/3 URL from the device setup; if you need to navigate back to find it, you can find the "My Resolvers" button on the "Managing Profiles & Devices" page.
If you're configuring our free DNS resolvers, you can use these:
- Unfiltered: https://freedns.controld.com/p0
- Block Malware: https://freedns.controld.com/p1
- Block Malware + Ads: https://freedns.controld.com/p2
- Block Malware + Ads + Social: https://freedns.controld.com/p3
- Block Malware + Ads + Social + Adult Content + Drugs: https://freedns.controld.com/family
Step 5
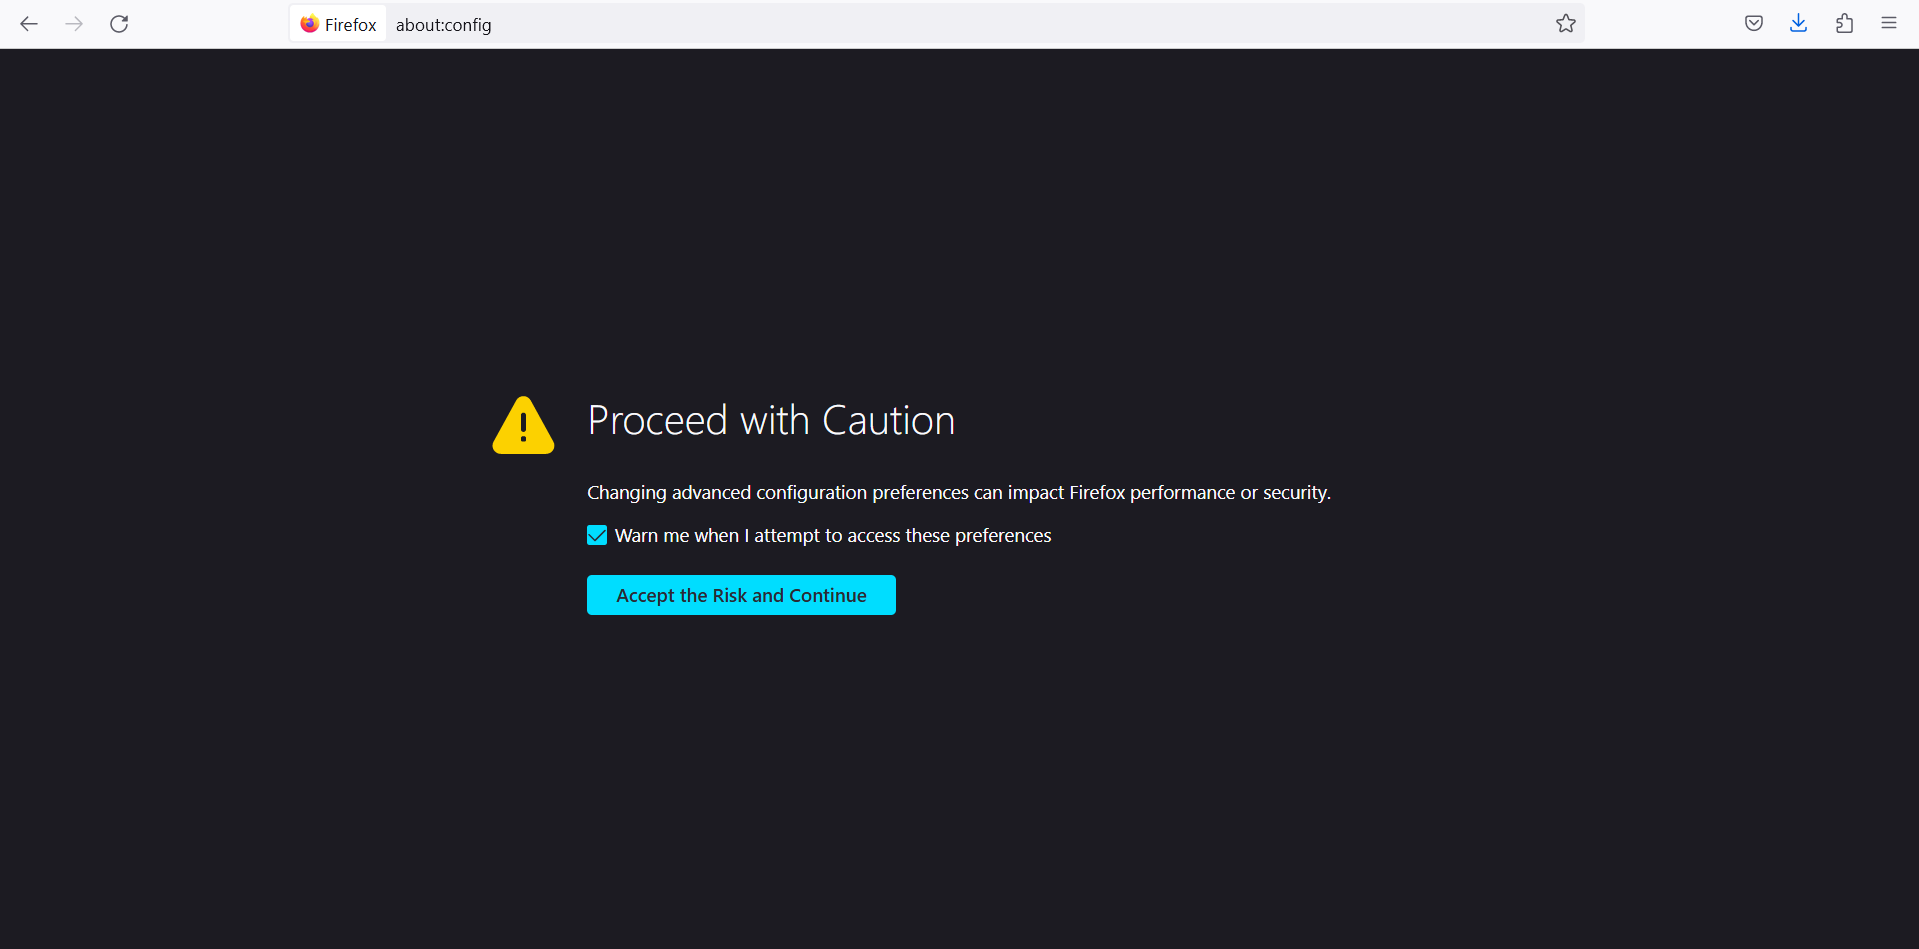
Enter "about:config" into your Firefox address bar, and hit enter. Click "Accept the Risk and Continue."
Step 6
Type in "network.trr.mode" into the search bar, then hit the "Edit" button, and change the value to "3".

That's it; you're done!
You can tweak the settings for this particular profile to your heart's content and start taking back control of your internet experience.