

Thus far, we've talked about how to route your browser traffic through Control D; now, we'll cover how to route all traffic from your computer through Control D, starting with the ever-popular Windows platform.
The Different Types of DNS
As you may already be aware, DNS comes in two flavors: Unencrypted (aka Legacy DNS) and Encrypted (aka Secure DNS). Whilst almost all versions of Windows support Legacy DNS, only Windows 11 has native support for Secure DNS.
Given we are in the business of online privacy and security, we highly recommend choosing encryption wherever possible; if you are running Windows 10 or an earlier version, please consider upgrading for benefits that go beyond just the ability to use Secure DNS.
If for whatever reason, you don't want/aren't able to upgrade to Windows 11, then you can still set up Control D using Legacy DNS, either via the GUI or via command prompt. Or you can just use the Control D GUI app and skip all of this.
Use Our GUI App
Step 1
Download the app and run it.
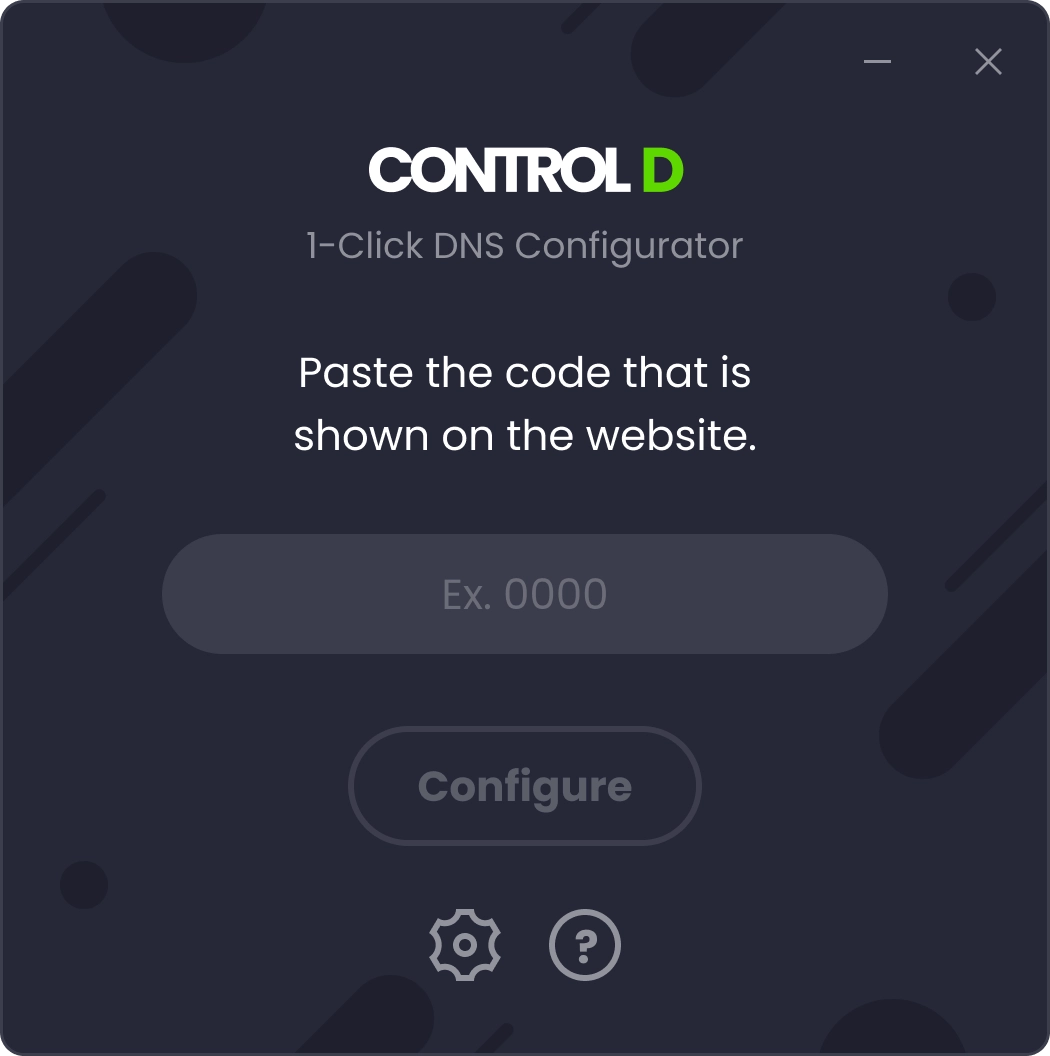
Step 2
Input the configuration code you see in the control panel.
The code is your unique DNS resolver ID, which you can find as part of your DNS-over-HTTPS URL, after the slash: https://dns.controld.com/abcd1234.
This can be found by navigating to the Manage Profiles & Devices page on your Control D panel, finding the Windows device you set up, clicking the three dots, and selecting Show Resolvers.
That's it, you're done!
Manual GUI Setup
Like to do things yourself? The 2nd most user-friendly method of setting up Legacy DNS on Windows 10 or earlier is via the GUI. We recommend this method for most users who don't wish to use the above app.
Step 1
Open the Control Panel from the Start menu.
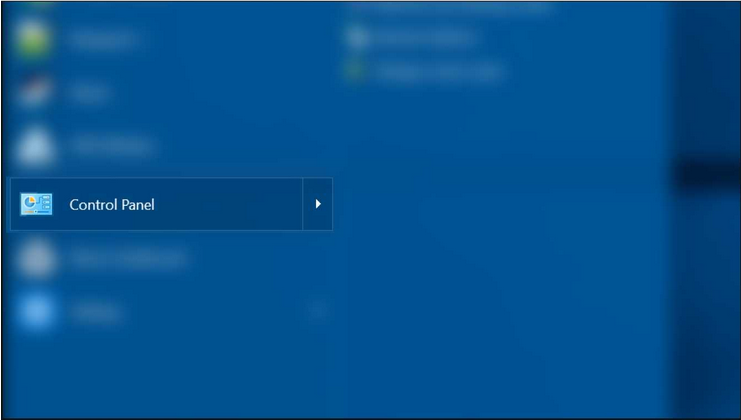
Step 2
Click on Network and Internet.
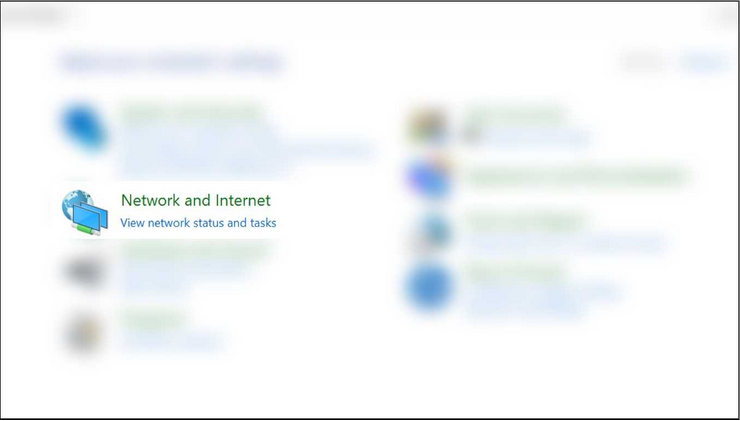
Step 3
Click on Network and Sharing Center.
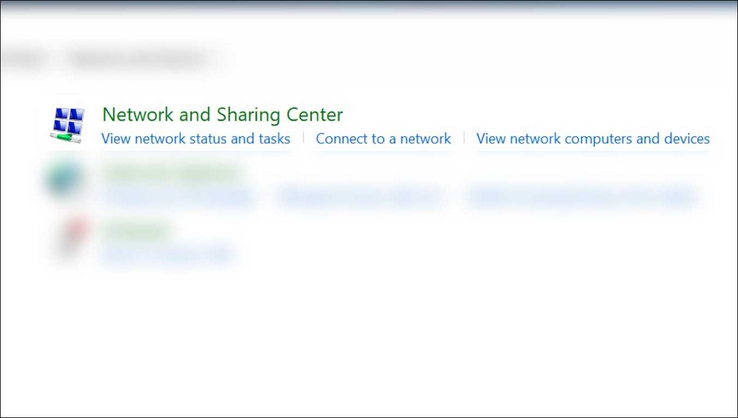
Step 4
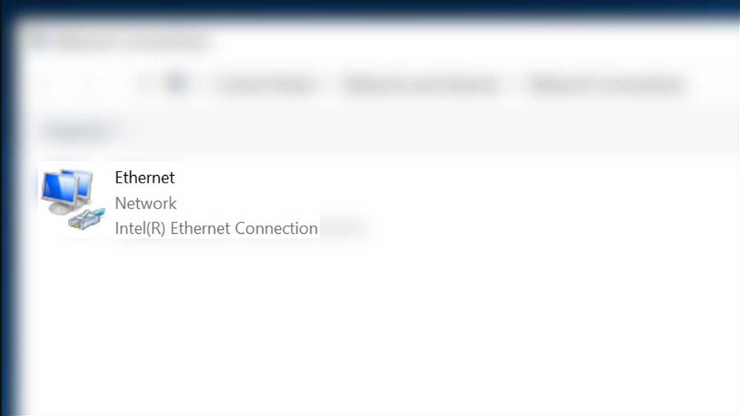
Select your currently in-use network connection.
Step 5
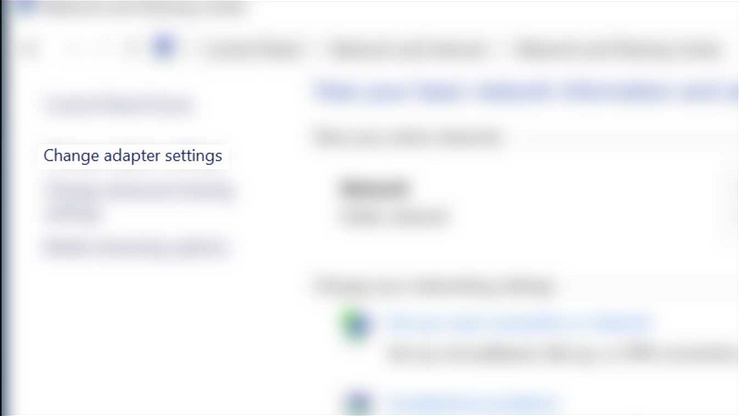
Double-click on Change adapter settings.
Step 6
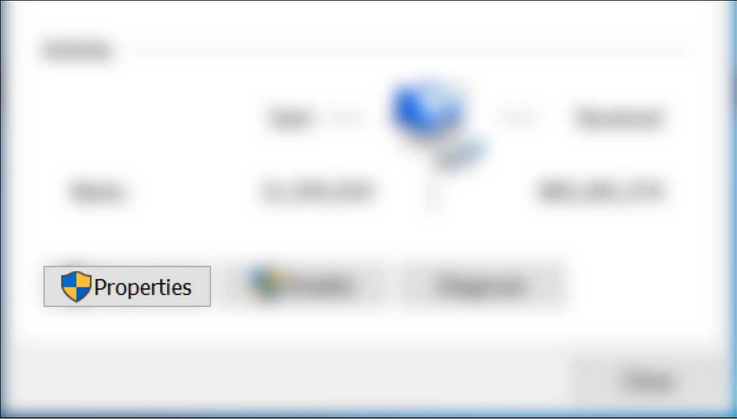
Select Properties.
Step 7
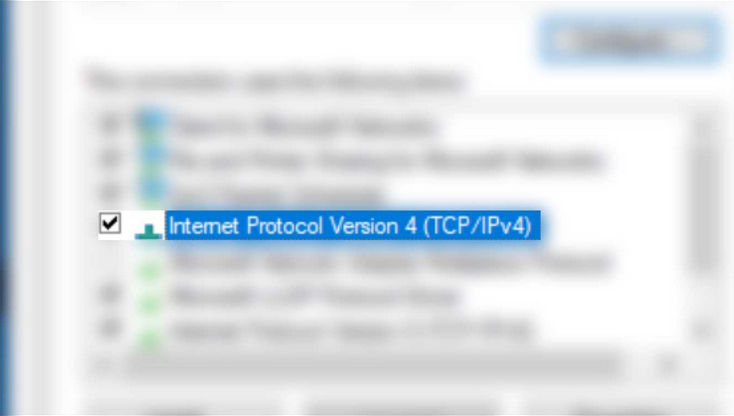
Double-click on Internet Protocol Version 4.
Step 8
Select Use the following DNS server addresses.
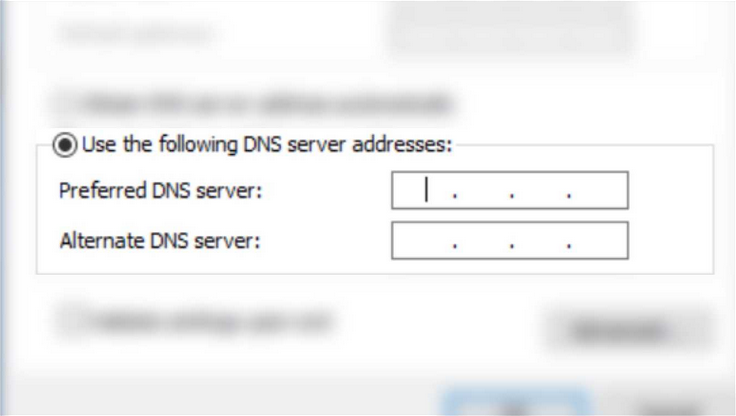
Step 9
Input your desired DNS server IP address into the Preferred DNS server field.
You can leave Alternate DNS server blank.
That's it! You're done!
Manual Command Prompt (Method #1)
This next method uses command prompt
Step 1
Open command prompt in Administrator mode and enter this command:
netsh interface ip show configStep 2
Find the Interface you are currently using or want to change the DNS server on. The one you're most likely looking for will be called “Ethernet” or “Wi-fi”. Take the exact interface name, and then enter this command:
netsh interface ipv4 set dns name="$INTERFACE_NAME" static $DNS_IP
Where $INTERFACE_NAME is the name of the interface you are modifying, and $DNS_IP is the legacy IP address of the resolver you wish to use.
For example, if we wanted to enable the free ad-blocking resolver on your Wi-Fi interface, you would run this command:
netsh interface ipv4 set dns name="Wi-Fi" static 76.76.2.2If you are setting up a custom premium resolver, the command would be as follows:
netsh interface ipv4 set dns name="Wi-Fi" static $DNS_IPWhere $DNS_IP is the unique legacy IP you can find by navigating to the Manage Profiles & Devices page from your Control D panel, finding the Windows device you have set up, clicking the three little dots, and selecting Show Resolvers.
Manual Command Prompt (Method #2)
This is an alternative method using command prompt, which achieves setup in one single PowerShell command.
Step 1
Open command prompt in Administrator mode and enter this command:
powershell -command "Get-WmiObject -Class Win32_IP4RouteTable | where { $_.destination -eq '0.0.0.0' -and $_.mask -eq '0.0.0.0'} | Sort-Object metric1 | select interfaceindex | set-DnsClientServerAddress -ServerAddresses ('$DNS_IP')"Where $DNS_IP is your unique legacy IP address; you can find this by navigating to the Manage Profiles & Devices page from your Control D panel, finding the Windows device you have set up, clicking the three little dots, and selecting Show Resolvers.
You're Good to Go!
If you have successfully followed one of these methods, then everything should be good to go, and you can begin using your newly-secured Windows device.
If you have any issues or feedback, you can contact us, and we'll be happy to help you!
